Key Takeaways
- Hydroponic system automation follows a four-layer structure of sensors, controllers, actuators, and software. Knowing each layer helps you decide what to automate and when.
- The safest automation sequence starts with timers, then monitoring and alerts, then environmental control, and finally closed-loop pH/EC dosing.
- Every automated function creates new failure modes. Safety interlocks such as deadbands, dose limits, redundant level detection, and manual overrides reduce the risk of crop loss.
- Automation manages timing, chemistry, and environment but does not change root-zone dissolved oxygen or water quality at the molecular level.
- Aquadei provides technology for improving root-zone dissolved oxygen and water quality, which sit outside what standard automation stacks can control.
Talk To Our Water Quality Team
The Four-Layer Architecture Of Hydroponic System Automation
Every automated hydroponic system, from a single-reservoir home build to a commercial vertical farm, follows the same four-layer structure. Knowing how each layer works helps you choose what to automate and in what order.
Sensors form the measurement layer. They read pH, electrical conductivity (EC), water temperature, dissolved oxygen (DO), and reservoir level. Sensor interfaces fall into three categories: analog voltage, I2C, and RS-485/Modbus, each with different wiring needs and noise behavior. The accuracy of this layer sets the ceiling for every decision that follows.
Controllers form the decision layer. An ESP32, a Raspberry Pi, or a commercial unit receives sensor readings, compares them to setpoints, and decides what action to take. ESP32 boards offer deep-sleep current draw under 10µA for battery-powered deployments, while a Raspberry Pi provides enough compute for local analysis and basic machine learning.
Actuators form the action layer. Peristaltic dosing pumps, solenoid valves, water pumps, lights, and fans carry out whatever the controller decides. The ESP32 should not directly switch mains-powered pumps or heaters, so you need appropriately rated relays, contactors, and opto-isolated interfaces.
Software forms the interface, logging, and alerting layer. Home Assistant is an open-source, locally hosted automation hub that consolidates environmental, reservoir, power, and mechanical monitoring into a single dashboard, running automated schedules and fail-safes without a cloud connection. Mycodo is an open-source environmental monitoring and control platform for Raspberry Pi and Linux systems, with a web interface for configuring sensors, visualizing data, and creating automation rules. These are the open-source stacks growers actually use, rather than vendor-only ecosystems.
The Problem: What You Should Automate First In A Hydroponic System
Automating dosing before you have reliable monitoring creates the highest risk in a hydroponic system. A fouled probe feeding a closed-loop dosing system can quietly destroy a reservoir.
The priority sequence below reflects how each layer fails in the real world.
- Irrigation And Lighting Timers First. Timers are the safest automation because they usually fail safe. A timer that stops working simply stops switching and does not actively damage the crop. Moving power scheduling to Home Assistant via smart plugs offers high return with low difficulty.
- Monitoring And Alerts Second. Passive sensors that read and report without acting give you visibility without adding new failure modes. Automated pH and EC dosing should wait until monitoring is stable, because delayed or inaccurate readings can trigger incorrect dosing that changes reservoir chemistry without review.
- Environmental Control Third. Humidity, temperature, and ventilation automation adds complexity but usually fails more gently than dosing. A fan that stops running creates stress. A dosing pump that runs continuously can wipe out a crop.
- Closed-Loop pH And Nutrient Dosing Last. Dosing converts a silent sensor failure into a chemical event. Automation without disciplined calibration scales error instead of preventing it.
This order reflects mechanical reality. Timers tend to fail in ways you notice quickly. Sensors often fail silently. A probe with a film of nutrient salt can read slightly off with a smooth, plausible trend line, and nothing in the system flags it as wrong. Dosing then turns that silent error into an active one.
The Solution: What An Automated pH Controller System Does
An automated pH controller system uses a probe-plus-peristaltic-pump loop that reads pH, compares it to a setpoint, doses a small volume of pH-up or pH-down solution, waits for the reservoir to mix, then reads again before deciding whether to dose again. A representative automated pH loop reads a probe, compares it with a setpoint, doses briefly, waits about 5–15 minutes for mixing, and then measures again.
Dosing belongs at the end of your automation journey because it amplifies any sensor error. A fouled probe is the most dangerous dosing failure because it produces a wrong number that looks completely reasonable. As noted earlier, the controller then faithfully doses to correct a problem that does not exist.
Community-standard safeguards for any automated pH dosing loop include the following controls.
- A deadband around the setpoint to suppress probe noise and prevent continuous micro-dosing.
- A maximum volume per single dose sized so one shot moves pH by less than the deadband, forcing several small corrections instead of one large one.
- A lockout period longer than the reservoir’s measured mixing delay, based on timing how long a dose takes to register at the probe location.
- A maximum total dose per day as a hard ceiling that survives controller resets.
The Solution: ESP32 Vs. Raspberry Pi Vs. Commercial Controller For Hydroponics
The controller you choose defines how much work you handle yourself and how much the vendor handles. Your tolerance for configuration, your need for customization, and your comfort with software maintenance guide this choice. The table below compares three common options across the attributes that usually matter most.
| Attribute | ESP32 | Raspberry Pi | Commercial Controller |
|---|---|---|---|
| Customization | High, with firmware defined in code or YAML via ESPHome | High, with a full Linux environment that supports Mycodo, Home Assistant, and custom scripts | Low to moderate, with a vendor-defined feature set |
| Setup effort | Moderate, and ESPHome lets growers define sensors and outputs in configuration instead of writing full firmware | Moderate to high, and Mycodo installs via a one-line script and provides a web UI without programming | Low, because it arrives calibrated and tested |
| Reliability | High for embedded tasks, and schedules run on the device and continue during internet outages | Good, although SD card wear and OS updates add occasional failure points | High for supported configurations, with limits outside the vendor’s tested parameters |
| Maintenance | You manage firmware updates and safety logic | You manage the OS, software stack, and calibration | The vendor manages firmware, while you manage probe calibration and consumables |
| Best fit | Distributed sensor nodes, irrigation control, and lighting timers | Central logging, dashboards, PID control, and multi-sensor coordination | Growers who want a tested, supported system without software maintenance |
A robust build can combine ESP32/ESPHome nodes for reservoir and canopy data, Mycodo for specialized control or logging, and Home Assistant for dashboards and notifications.
The Solution: Hydroponic System Automation Kit Vs. DIY
The buy-versus-build decision centers on who carries responsibility for safety logic, calibration, and failure-mode engineering, rather than on cost alone. The table below shows how each path handles that responsibility and what type of grower it suits.
| Attribute | Turnkey Appliance | Kit | Full DIY |
|---|---|---|---|
| Upfront effort | Minimal, because it is configured at the factory | Moderate, with assembly and basic configuration required | High, because the grower designs, wires, and programs the system |
| Customization | Low, with vendor-defined parameters | Moderate, with component choices inside the kit’s architecture | Full, with any sensor, any logic, and any actuator |
| Repairability | Retail hydroponic machines are often black-box systems that cannot be repaired once a component fails | Moderate, with standard components and some vendor dependency | High, because every component is individually replaceable |
| Best fit | Growers who want a working system immediately with no software work | Growers comfortable with assembly who want a tested starting point | Growers who need specific sensor combinations, unusual system designs, or full control over safety logic |
Safety Interlocks And Failure Modes
Every automated function you add to a hydroponic system introduces a new way for the system to fail. Your job as the grower is to design the system so that any single failure cannot cascade into crop loss. This section focuses on practical interlocks that many guides overlook.
Reservoir-Empty Pump Cutoff Via Float Switch. A single float switch is a single point of failure, because salt buildup, roots, or biofilm can cause it to stick. Redundant level detection, such as a float switch plus an optical sensor or a float switch plus a timed volume check, removes that single point.
Dosing Caps And Maximum-Dose Limits. Smart Hydro Lab recommends decanting working concentrate into a small container that holds only a few days of normal dosing, with bulk supply stored elsewhere. Refilling a small bottle twice a week turns a catastrophic failure into a recoverable one.
Sensor Validation Before Any Chemical Adjustment. Smart Hydro Lab recommends calibrating pH probes every fortnight with fresh pH 4.0 and 7.0 buffers and cross-checking with an independent handheld meter. A disagreement of about 0.2 pH indicates a faulty in-reservoir probe. Dosing should not proceed on a reading that has not been validated.
Manual Override On Every Automated Device. Every automated device should retain a physical manual override switch, so you never rely entirely on a digital controller for core water flow.
Alerting On Out-Of-Range Readings. Systems where crop damage can occur within hours need local data buffering, edge-level alarms that work without cloud connectivity, and fail-safe defaults such as pumps stopping dosing when sensor data is stale.
The core design principle behind these interlocks is simple. Safety should not depend on the component that failed. A firmware daily cap does not protect against firmware that resets. A concentrate bottle that sits below the reservoir water line cannot siphon, regardless of what any code does.
Dosing failures are almost always silent, with no sparks or alarms, and growers often discover them only by looking at plants. Relays weld shut when they switch inductive loads over many cycles, and a dosing relay switches many thousands of times a year. When a relay welds, controller logic cannot help because the relay is already fused closed. In that scenario, the small bottle matters more than any firmware cap.
Where Automation Stops Helping
Sensors, controllers, and actuators manage chemistry, timing, and environment, but they do not change root-zone dissolved oxygen or water quality at the molecular level. That deeper layer sits outside the reach of automation and strongly influences yield.
The importance of dissolved oxygen comes from physics and long-term data. The global ocean lost more than 2% of its oxygen between 1960 and 2010, or roughly 77 billion tons, due to reduced solubility in warmer water and reduced deep-ocean ventilation. Freshwater is changing even faster. An analysis of 45,148 profiles across 393 temperate lakes found freshwater oxygen falling 2.75 to 9.3 times faster than in the oceans. Modern hydroponic systems often start with lower baseline oxygen than a generation ago.
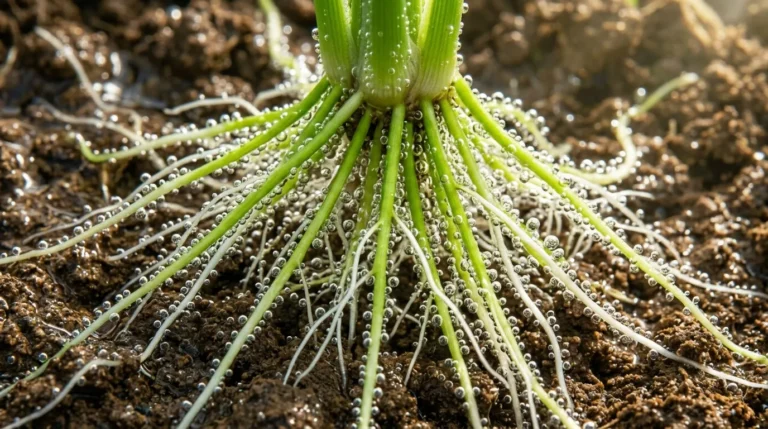
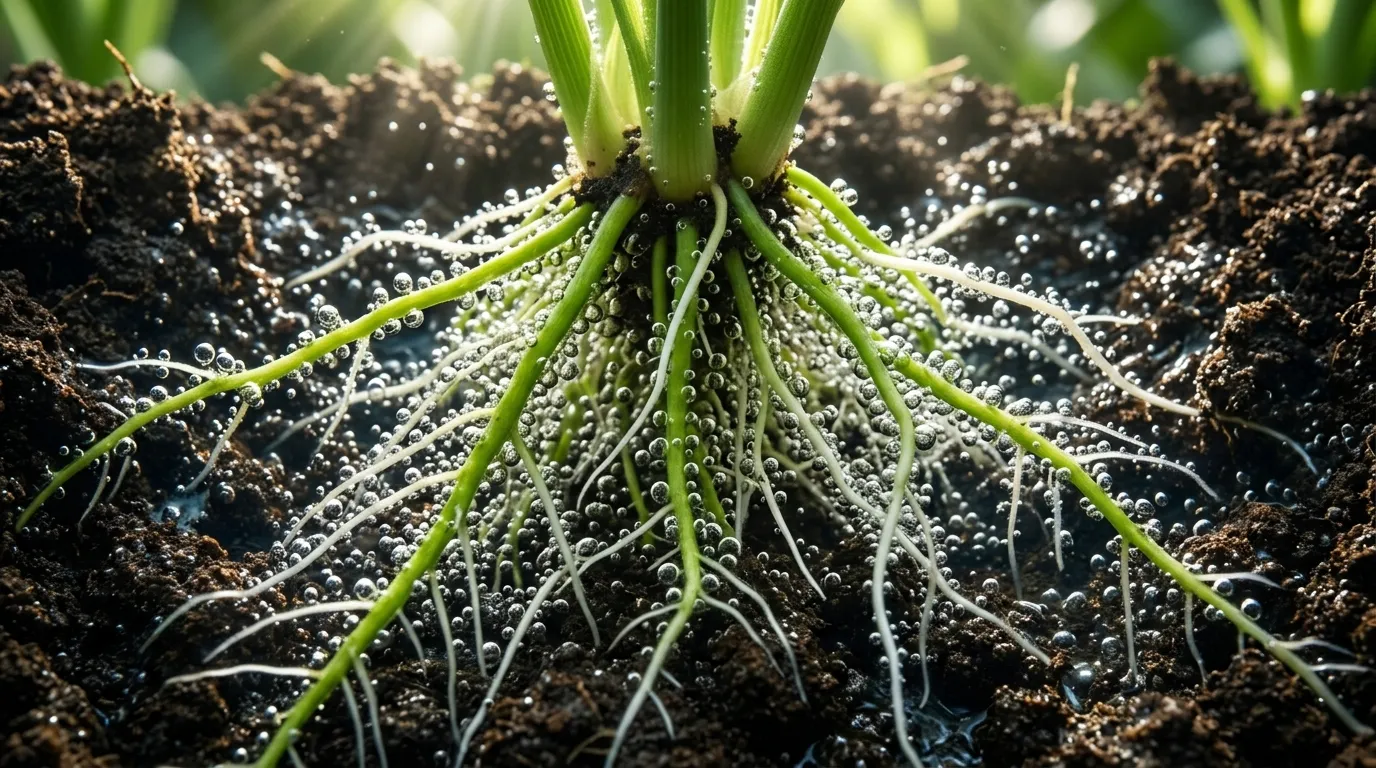
At the root zone, oxygen depletion has clear effects. A 2026 peer-reviewed study in Agronomy found that root-zone aeration in a nutrient film technique system raised dissolved oxygen from 4.2–4.8 mg/L in non-aerated treatments to 7.8–8.6 mg/L in aerated treatments. The aerated treatment also produced the highest grain yield, total fresh biomass, and water-use efficiency among all treatments tested. Root length strongly correlated with grain yield (r = 0.985, p < 0.001) in that study, and root length depends heavily on root-zone oxygen availability.
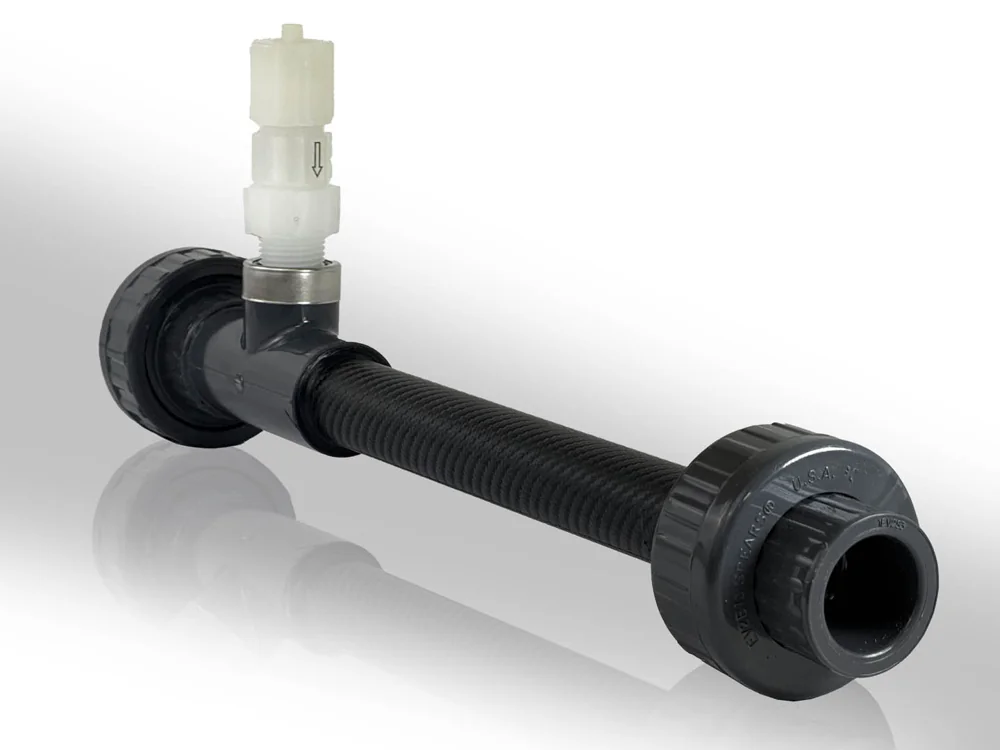
A peer-reviewed 2026 study in Agricultural Water Management, Vol. 325, led from Arizona State University with co-authors at the University of Maine, examined oxygen and CO₂ nanobubbles delivered through a Gaia UFB-75 generator. It found that oxygen nanobubbles improved lettuce germination, leaf growth, and biomass while cutting water use by about 23%. CO₂ nanobubbles promoted leaf and root development and increased biomass, with water savings of about 21%. That study covered germination and early growth, and the generator used was a Gaia UFB-75.
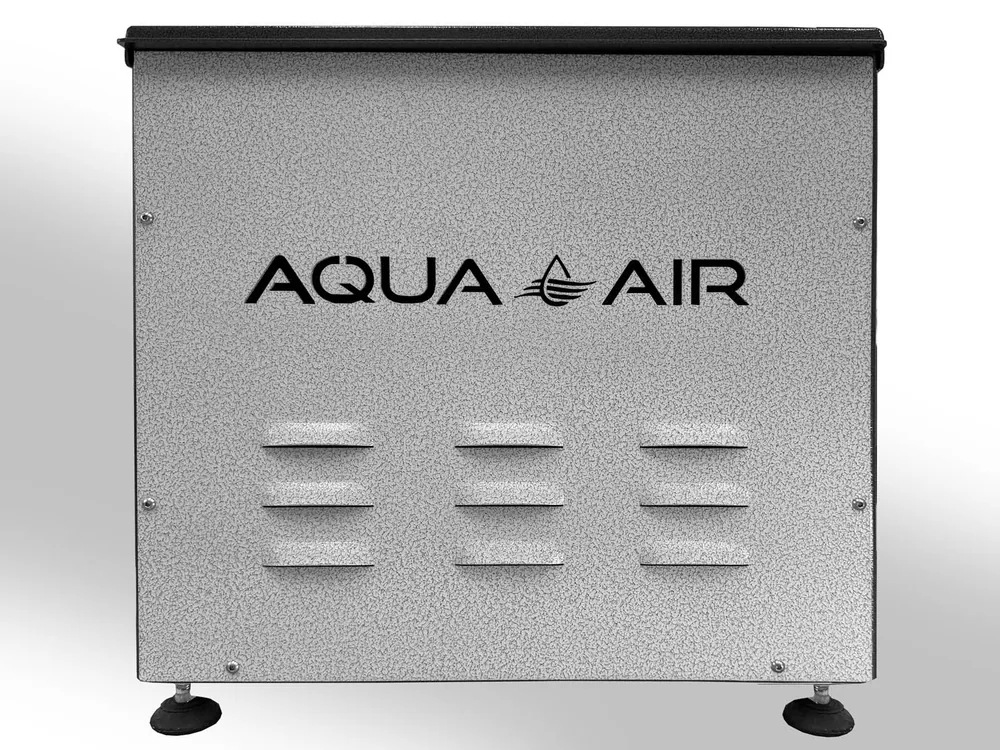
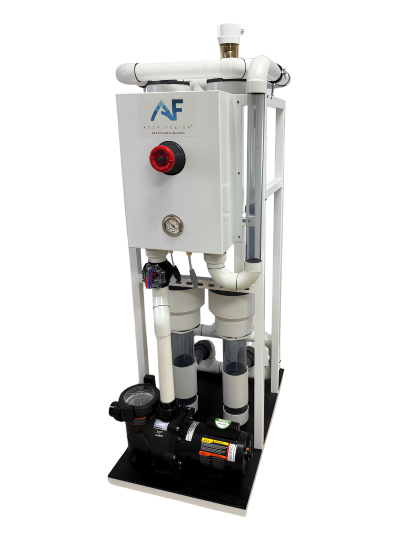
No pH controller, EC dosing loop, or Home Assistant automation directly addresses this molecular layer. The water quality and dissolved oxygen content entering the root zone are set before any sensor reads them.
Aquadei owns the Gaia technology used in that research. For the layer that standard hydroponic automation cannot control, namely root-zone dissolved oxygen and water quality, Aquadei offers a technology path supported by research collaborations with more than 15 universities and government labs, independent laboratory confirmation of bubble production at the University of Osaka photonics laboratory, the peer-reviewed 2026 Agricultural Water Management lettuce study using a Gaia UFB-75 generator, and in-house PhD-operated characterisation capability. For a deeper look at how pH, EC, and dissolved oxygen interact in nutrient solution, see Hydroponic Nutrient Management: pH, EC & Dissolved Oxygen.
Discuss Root-Zone Oxygen Solutions
Frequently Asked Questions
How Does Hydroponic System Automation Differ From Manual Management?
Manual management requires you to check sensors, adjust chemistry, and switch equipment on a schedule you maintain. Automation replaces those repeated actions with sensors that read continuously, controllers that compare readings to setpoints, and actuators that respond without input. The practical difference is consistency and response time, because an automated system can catch a pH drift at 2 a.m., while a manual system waits until the next check. The risk is that failures also become consistent, so a fouled probe or a stuck relay repeats the same wrong action every cycle until you notice. Manual management tends to fail visibly, while automated management can fail invisibly for days.
What Integration Requirements Does An Automated Hydroponic System Have?
An automated system needs a controller such as an ESP32, Raspberry Pi, or commercial unit, sensors that match the controller’s input interfaces, actuators rated for the loads they switch, and software that ties them together. Electrical isolation between submerged sensors and the controller is a practical necessity, because ground loops from submersible pumps sharing a circuit with sensors can corrupt readings in subtle ways. For systems using Home Assistant or Mycodo, a local network connection supports dashboards and alerts, while critical schedules should run on the device so that a network outage does not stop pumps or lights.
What Maintenance Does Hydroponic System Automation Need?
An automated system often needs more maintenance than it appears to at purchase. pH probes require calibration every two weeks with fresh buffer solutions and replacement every 12 to 18 months under continuous use. EC probes are more stable but still need periodic checks against a reference standard. Peristaltic pump tubing degrades and should be inspected for flattening or thinning at the pinch zone, which is the worst time to leave the system unattended. Float switches and optical level sensors collect biofilm and root debris and need regular cleaning. Relay contacts weld shut after thousands of switching cycles. Automation reduces daily manual labor but shifts the risk toward silent malfunction, so scheduled maintenance becomes essential.
What Are The Common Limitations Of Hydroponic System Automation?
Automation cannot validate its own sensors. A controller that trusts a drifted pH probe will dose toward a wrong target. Automation also cannot fix poor source water, so high mineral content, chloramines, or low dissolved oxygen in the incoming water remain outside its control. Standard automation stacks do not raise root-zone dissolved oxygen at the molecular level in the way nanobubble technology does. Automation also cannot replace your visual inspection of roots, flow, and plant health. A dashboard can show perfect numbers while roots sit in early-stage rot, because the sensors measure chemistry rather than biology.
Can I Use Tap Water In An Automated Hydroponic System?
Tap water adds variables that complicate automated control. Municipal water often carries background EC from dissolved minerals before you add nutrients, which reduces the precision of automated EC dosing. Chlorine and chloramine can affect pH stability and beneficial microbes. Bicarbonates push pH upward over time, which demands more frequent pH-down dosing. High-mineral tap water can cause an automated system to underestimate nutrient concentrate, leading to nutrient lockout or toxicity even when the displayed EC looks correct. Reverse osmosis water is the standard recommendation for automated dosing systems because it provides a consistent, near-zero baseline. If you use tap water, test the source for pH, EC, and alkalinity before designing any nutrient recipe.
How Often Should pH And EC Probes Be Calibrated?
pH probes should be calibrated every two weeks with fresh 4.01 and 7.01 reference buffers and cross-checked against an independent handheld meter. A disagreement of more than 0.2 pH between the in-reservoir probe and the handheld usually indicates a faulty in-reservoir probe, because the handheld is rinsed and stored between uses while the in-reservoir probe lives in nutrient solution. EC probes are more stable but should be verified monthly against a 1.41 mS/cm reference standard. Both probes should be replaced on a schedule, with pH probes typically replaced every 12 to 18 months under continuous use, because degradation is gradual and readings can look plausible long after accuracy has drifted.
What Should I Automate First If I Am Building A Hydroponic Automation DIY Setup?
Start with lighting and irrigation timers, which usually fail by simply stopping and do not actively harm the crop. Add passive monitoring sensors next, such as water temperature, reservoir level, and air temperature, to gain visibility without adding new failure modes. Establish a calibration routine and confirm that sensor readings are stable and accurate before adding active control. Environmental control for fans and humidity comes next. Automated pH and EC dosing should come last, after you have run the system manually long enough to know what normal looks like, installed industrial-grade probes rated for continuous submersion, and implemented safety interlocks such as deadband, per-dose volume caps, lockout periods, daily dose ceilings, and small concentrate bottles.
Conclusion: Turning Automation Into Reliable Yield
Hydroponic system automation functions as a risk-management tool that also saves labor. The monitor-first, dose-last sequence exists because every automated function introduces a new failure mode, and dosing failures often stay silent. When you choose between a turnkey appliance, a kit, or a full DIY build, the real evaluation criteria are customization, setup effort, reliability, maintenance burden, and the failure modes each path introduces. A commercial controller carries more of the safety logic for you, while a DIY build gives you control and also responsibility.
Standard controllers, sensors, and software manage the system but do not change root-zone dissolved oxygen or water quality at the molecular level. That deeper layer sets how well roots can use the nutrients that automation manages so carefully. Aquadei, as the owner of the Gaia technology, focuses on this water-quality layer and supports it with collaborations across more than 15 universities and government labs, peer-reviewed research using Aquadei UFB generators, independent confirmation of bubble production, and in-house characterisation capability. Automation keeps the system on schedule. Water quality shapes the yield.
For more on how dissolved oxygen affects root health in recirculating systems, see Dissolved Oxygen In Hydroponics: Why Air Stones Fall Short and Hydroponic Water Quality: Your Complete Guide. For system-specific guidance on RDWC, NFT, and ebb-and-flow designs, see Recirculating Hydroponic Systems: RDWC, NFT & Ebb And Flow.